|
g vectors, While your really not learning a lot from selections they sure are more fun and less time consuming. So I am fairly new with writing tutorials using selections and creating my own selection files, I hope to get better with time, So bare with me with my new selection tutorials;))
You will need PSP 7, Fantastic Machines Paint Engine Filter, Texturizer Filter (Optional) And my zipped selections. Unzip the selection files into your psp selection folder, If you haven't already created one do so now;))
Lets Begin
Create a new 500 by 600 16.7 million color transparent image, A little on the large side but you can always resize this later:0)
Now add a new layer and name this layer body, go to selections, load from disk and locate your body.sel file. Looks a little rough but we are going to fix that later ;)) Now your foreground (Styles) color should be set to black, set your background color to white or whatever color you wish to use for your cat. Mine appears to be gray so by using the white and applying the paint engine filter it has turned it gray so keep that in mind;)) Now flood fill your cat's body with black. 
Now go to selections, modify, contract by
3 and flood fill inside the new selection with white or whatever color
you chose for your cat. Now we want to apply the Paint engine filter,
make sure you keep it selected. Go
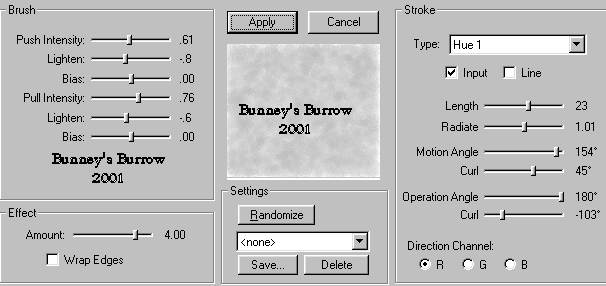
to effects, plug-ins,
fantastic machines, paint engine and use these settings
Now add a new layer and name this layer face. Go to selections, load from disk and locate your face.sel file, click open. Flood fill again with your black and go to selections, modify contract by 3 and again flood fill with white. Apply the same Fantastic Machines, Paint engine filter to the cats face as we did for her body.
Once again we need to add yet another
layer name this layer front paw. Go to selections, load from disk and locate
your frontpaw.sel file, click open and flood
fill again with your black, go to selections, modify, contract by 3 and flood
fill again with white, apply the same fantastic machines, paint engine filter
as we did above. Add yet another new layer and name this layer
frontpaw2. Go to selections, load from disk and locate your frontpaw2.sel file
click open and flood fill again with black, go to selections, modify, contract
by 3 and flood
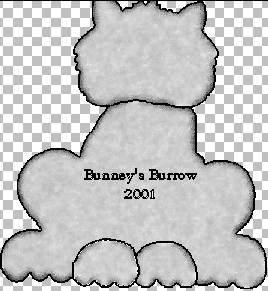
fill again with white, Use the same paint engine filter on this paw also. This
is what you should have to this point.
Remember yours will be larger and more detail as I have resized this for download time;0)
Add a new layer and name this layer frontlegright. Go to selections, load from disk and locate your frontlegright.sel file, click open and flood fill again with black, go to selections, modify, contract by 3 and flood fill again with your white, again use the same paint engine filter on the leg. You will need to do the same thing with your left leg by adding a new layer and name this layer frontleftleg and find your frontlegleft.sel file. Apply the same flood fill and paint engine settings as before:))
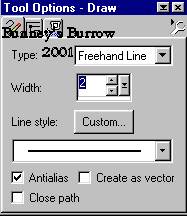
Add another layer no need to really name this layer, but using your draw
tool
You need to make sure your foreground (Styles) color is set on black your background color will need to be null at this point.
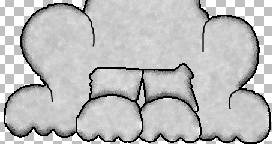
Now draw a few detail lines at the curve of her legs like this
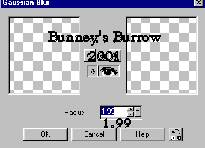
Now go to effects, blur, gaussian blur and use these settings. .
Now we are going to add the face and her trick or treat bag so if you go to the next page we will try to get finished up:))
This tutorial ©
Bunney's
Burrow 2001
|