|
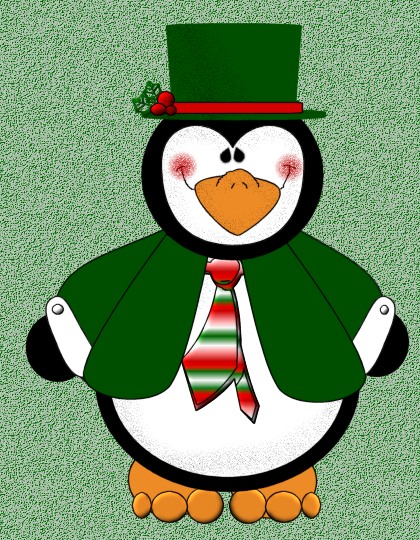
Mr. Penguin Page 2 Add a new raster layer and name this layer eyes,
Using your preset shapes tool
Starting to take shape huh? LOL. Now we want to
add the cheeks so change your foreground (styles) color to a dark pink or red. I
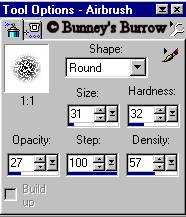
am using #C00000. Using your airbrush tool
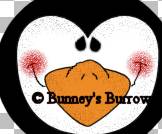
Now spray a cheek on both sides of the bill like this. Your image will not have the smile yet we will add that next.
Change your background color to null your foreground (styles) color should be black
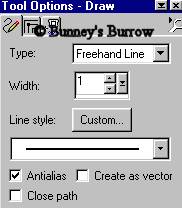
Using your draw tool
Draw your smile like the image below or something similar.
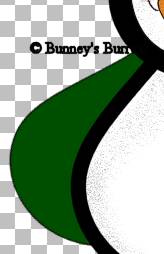
Add a new raster layer and name this layer
leftarm. Now to add his jacket, Change your background color to a green or
whatever color you would like for his jacket I am using #004F00. Using your
preset shapes tool
Draw a teardrop shape for his left arm. then
using your deformation tool
You need to drag this layer all the way to the bottom of your layer palette so that it's under Layer 1. Then go to edit copy, edit paste as a new selection, then go to image mirror and place on the right side of the body. This is what you should have now
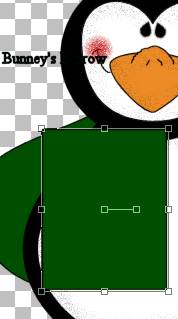
Highlight your eyes layer do not add another layer yet creating this as a vector will create us a new vector layer. We just want to highlight this layer so that when we draw we will be on top of all other layers. Change your preset shape to a rectangle shape, create as vector IS checked for this one. On the left side of your penguin toward the left arm draw a rectangle like this
Using your object selector tool
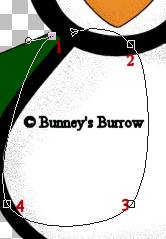
Now take node 4 (four) and pull it to the left side toward the penguin's arm like this
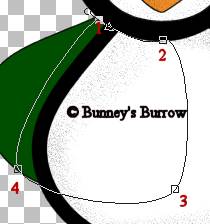
Now take node 2(two) and pull it down so that it fits under the penguin's head like this
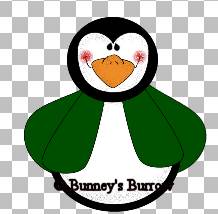
You may have to move around the arrows to get it set just right. Once you have your vest the way you want it right click and go to quit node editing and then to layers convert to raster and name this layer frontleftjacket. Open your layer palette and drag this layer below your head layer. Then go to edit copy, edit paste as a new selection and then image mirror and place on the other side of the penguin. Your penguin should now look something like this
Lets go on over to page 3 to add his hat . This Tutorial ©
Bunney's Burrow 2001
|