|
Mr. Penguin Page 3 Add a new raster layer and name this layer hat.
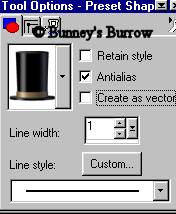
Using your preset shapes tool
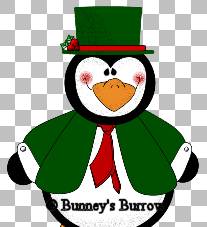
Draw a top hat on your penguin. You can chose to
leave the preset shape as is or for this tutorial I used the same green I used
for his jacket. I also added a red stripe in the middle to give it some color.
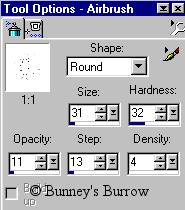
This part is up to you. Then remember how we used the airbrush tool
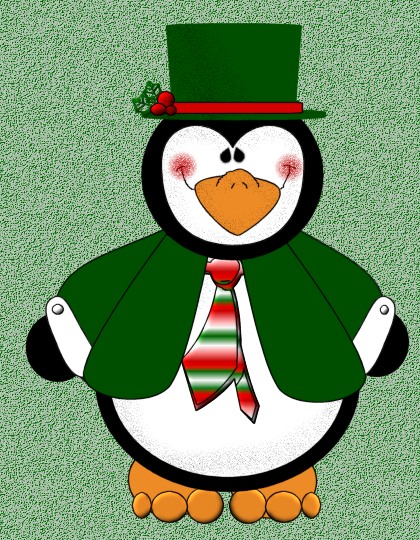
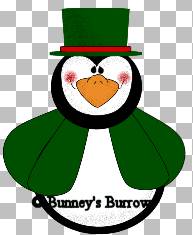
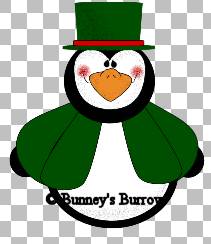
Use your magic wand and select only your hat then go to selections invert to make sure that only your hat is selected. Now spray the black on the hat area. I also forgot to add to do this to the jacket so highlight your frontleftjacket layer and do the same thing to the jacket. (oops Sorry) lol Now this is what your penguin should look like.
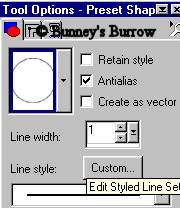
For this tutorial I added some holly and berries to the hat, but that's optional. You can leave it as is or add your own personal touches. ;)) Add a new raster layer and name this layer hands. Using your preset shapes tool once again only this time change the shape to the ellipse
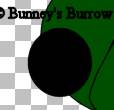
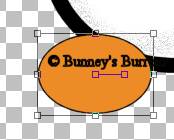
Draw a circle for his hand. Like this
In your layer palette drag this layer beneath the left arm layer all the way to the bottom of the layer palette. Now go to edit copy, edit paste as a new selection and place on the opposite side just under his jacket arms. This is what you should have
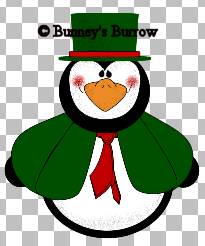
Highlight your layer1 on your layer palette and Add a new raster layer and name this layer tie. Using you preset shapes tool once again browse to find your tie2 preset shape. You can use a gradient fill like I did in the tutorial image or use a color of even leave as is. This choice is up to you. For this tutorial purpose I am using a color to make things easier;0) So change your background color to a color you want to use for his tie I am going to choose #C00000 Now draw the tie so that its right up under his head. This is what you should have
Now to add the jacket cuffs, highlight your frontleft jacket layer. This is just to make sure your next part is on top of the layers and it will show thru. Now use your preset shapes tool the ellipse create as vector IS checked. Your background color is white, foreground (styles) color is black. Draw a oblong oval shape for the cuff, you will need to rotate this to the right or left depending upon which side of the arm you are doing first. Using your object selector tool right click and go to node edit pull the bottom nodes out on both sides of the cuffs so that it conforms to the top and bottom part of of the jacket arm like this. Then make sure you right click and go to quit node editing and then to layers convert to raster and name this layer cuffs.
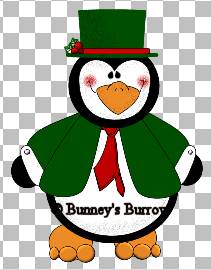
Play around with it to get it the shape you want it. Then go to edit copy, edit paste as a new selection and image mirror and place on the other jacket arm. I also added a button on each side by using my preset shapes ellipse shape with an inner bevel. If you chose to do this make sure you add a new raster layer because if you don't the entire cuffs will have the inner bevel and we don't want that. This is optional. Sorry I don't have any more directions on how to do the cuffs as I just had to move the nodes around to get the bottom shape of the jacket arm. Guess what we are almost done. LOL. Add a new layer and name this layer you guessed it the only thing left are his feet heheh;)) Change your background color to the orange your used for his bill/beak . I am using #ED8B26 using your preset shapes tool once again we are going to use the ellipse shape. Create as vector is NOT checked now draw a circle shape for his foot like this
Open your layer palette and drag this layer to the bottom of the layer palette. Now go to edit copy, edit paste as a new selection and place on the other side of your penguin. Now using your preset shapes tool one more time using the ellipse shape draw some small circles for the penguins toes. I used an inner bevel to mine so they stand out just a little more. And this is what you should have now
That wasn't to bad was it?? You can merge visible all layers now and tube the little guy if you wish:) LOL.. As always if something isn't clear or I have left something out please email me at kitchel@webworkz.com and I promise to answer all email as soon as possible. This Tutorial ©
Bunney's Burrow 2001
|
