|
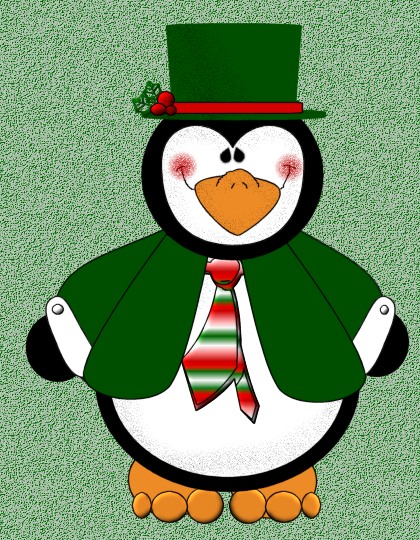
Mr. Penguin This tutorial was written for PSP but possibly
can be revised for other versions of PSP. This tutorial assumes you have working
knowledge of vectors as well as layer. Lets Begin Open a new 600 by 600 (16.7 million colors)
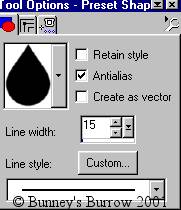
transparent image. Your foreground (styles) color should be set on black,
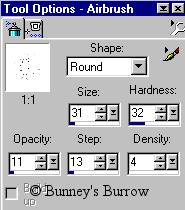
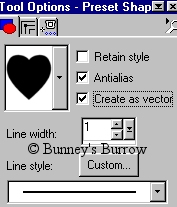
background color needs to be white. Using your preset shapes tool
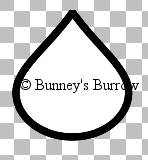
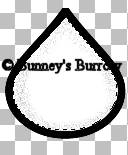
Now draw a teardrop shape for the penguin's body like this
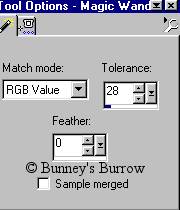
Using your magic wand tool
Click on the inside of the penguin's belly so
that the marching ants are only around the inside of the white area. Using your
airbrush tool
Spray around the outer edges of the penguin's belly like this
Then go to selections, select none. The body was
the easy part, the head isn't as easy lol. Add a new raster layer and name this
layer head. Change your background color to black, both foreground
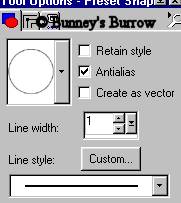
(styles) and background colors should be black. Using your preset shapes tool
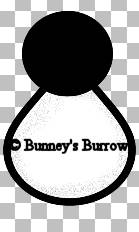
Draw the penguin's head over the top point of the penguin's body like this
Using your preset shapes tool once again this time change the shape to heart 4. Your background color also needs to be changed to white, Use these settings
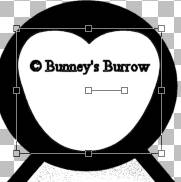
Draw a heart on the inside of your penguin's
head, using your object selector tool
Once you have the heart shaped the way you want
it right click again on the inside of the heart and go to quit node editing,
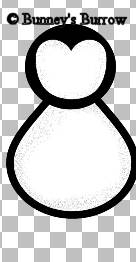
Then to layers convert to raster and name this layer face. Use your magic wand
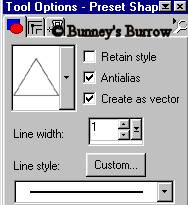
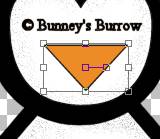
Remember your image will be larger and show more detail then the one shown above, this one has been resized for download time. Now lets add some facial features to this little guy to give him some character. Change your background color to an orange for his bill, I am using #ED8B26. Using your preset shapes tool, change your shape to the triangle with these settings
Draw a triangle on the heart shaped face. We then need to go to image flip so that the point is toward the bottom of the heart shaped face like this
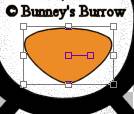
Using your object selector tool
Once you get your bill set the way you want it,
right click again and go to quit node editing, then to layers convert to raster
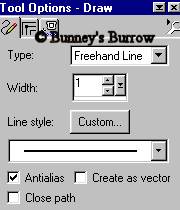
and name this layer bill. Using your draw tool
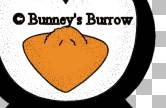
Now draw a curve around the top middle part of his bill. This make take some practice so don't give up:))) This is what you should have now
This image shows the two black lines in the middle do this with your draw tool before you add your black outlining around the bill like we did on the penguin's face and body. Now add your black out line with your airbrush by using your magic wand and selecting only the bill so that the marching ants are only around the bill then use same settings as before to spray the black areas around the bill. We are going to add his eyes and cheeks so go to page 2.
This Tutorial ©
Bunney's Burrow 2001
|