Crow
Tutorial
Page 2
Add a new layer name this layer straw. Change your foreground
(styles) color to #F6B559. Your background color needs to be null

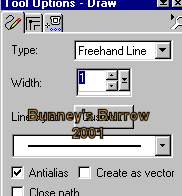
Using your draw tool

with these settings
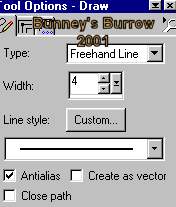
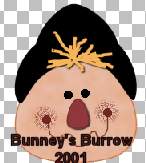
Draw your scarecrow some straw, using short strokes. Use your imagination on
this part. Mine looks like this
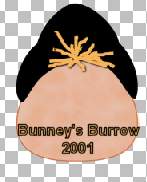
I also added a slight drop shadow to my straw, That's up to you:)) Change
your fore-ground(styles) color to black. Using your airbrush tool

with
these settings
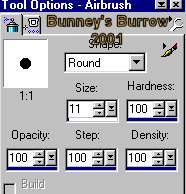
Spray two circles for his eyes. Now while you are still using your airbrush
change your foreground color to #732521 change your settings to
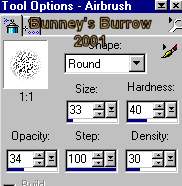
Spray two circles of color for your scarecrows cheeks below
his eyes. Now still using your airbrush change your settings back to
and on the inside of the cheeks you just sprayed spray a dot
on each cheek like this

This picture shows his mouth, you don't have that yet we are
adding that now. using your draw tool  same
color but use these settings
same
color but use these settings
Draw a squiggly line from cheek dot to cheek dot like the
image shown above.
Now going back to your preset shapes tool

using your ellipse shape and these settings

Change your background color from null to #732521 same color
as your foreground (styles) color and draw a small oblong circle shape for the
nose, Using your object selector tool  right
click on your nose and go to node edit bring your very top node up and your
bottom node up to form almost a line at the bottom, This is what it should
look like
right
click on your nose and go to node edit bring your very top node up and your
bottom node up to form almost a line at the bottom, This is what it should
look like
I added a slight drop shadow to mine but that's up to you! ;0)
Next we are going to add his body so go to page 3.
