|
Meet The HipHops Bunny Tutorial
This Tutorial Was Created in Psp 7. But can be made in Psp 6 You will just need to create the initial teardrop shape as we will be using that shape a lot in this tutorial.Are you ready? Lets begin!
First we need to open a new
image 500 by 500 with a transparent background. Add a new layer and name
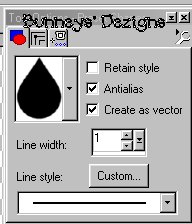
this layer body. We need to make our foreground color black and background
color white. We want to use our Shapes tool
Now draw a tear drop on your 500 by 500 image. After you get your size and shape you want for you body go up to layers convert to raster.
Add a new layer and name this
layer head. We are going to use the eclipse shape on the head as we have to do
some adjustments. So go back to your shapes tool and chose eclipse. Draw the
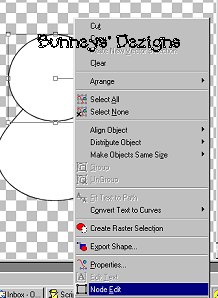
head on your transparent image and now we want to do the adjustments so we
need to go to our object selector tool
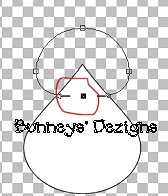
Now we are going to use our mouse and pull the bottom node up like this.
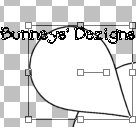
We want to do the same with our top node only we are going to pull it up instead of down so pull your top node up just a bit. When you get your head the way you want it go to layers convert to raster. Now we are going to add our ears. We are going to use our teardrop shape on our ears.. So create a new layer and name this layer ears. Once again go back to your shapes tool and click on teardrop shape. once you get your teardrop shape on you image we need to rotate it so that it looks like an ear. So click on the inside node until you get the curved arrows. And rotate it to the right just enough so that it begins to look like an ear.
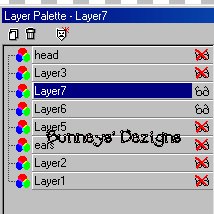
Now position it where you want it. Now go to layers convert to raster. We need another ear so go to layers duplicate and move the top layer to the right side . Mirror this image. After you get your ears where you want them we need to merge these layers. So now we want to go to our layers palette and put an x on all layers except the ear layer and the two layers we have for our mirrored ear like this.
Go to layers merge visible and rename this layer ears. Move this layer below the head layer. Make sure you are on your ears layer and we need to change the colors of our teardrop so chose a light pink color for the inside of his ears. This will be the background color. I have chosen color #FFCOCO . Make sure you change the foreground color to black.
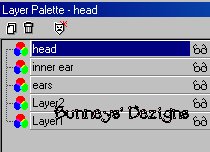
Now create a new layer and name this layer inner ear and draw a small teardrop on your image we also need to rotate this image to fit inside the ear. Once you get your inner ear positioned where you want it go to layers convert to raster. We also need to have an inner ear for the other side so go to layers duplicate and image mirror and position this one on the right ear. Once you get this placed we need to merge these layers. So go to your layers palette and place an x on all layers except your inner ear layers like this.
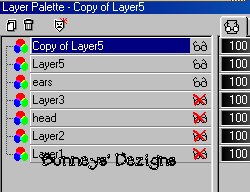
Rename this layer inner ear. And place this layer over your ear layer so that they are on top of you ear layer. We can get rid of the excess layers now that where created by using the vectors. This is optional and I have deleted my extra layers that where not needed . Here is what my layer palette looks like now.
This Tutorial ©
Bunney's
Burrow 2001
|