|
Fuzzy Bunny Tutorial
I hope you enjoy this tutorial
as much as I have creating This Fuzzy Bunny! This was written for PSP 7 but can
be modified for PSP 6;))
Open a new transparent image 600 by
800. A little on the large side but I wanted my bunny large . You can
always resize it after you finish making your bunny. Add a new layer and name
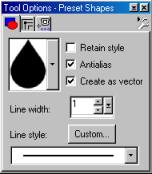
this layer body. We are going to use the present shapes tool
Browse till you find your teardrop shape.
Your foreground color should a gray or black, I have chosen a light gray #COCOCO. Your background color should be a color you want for you bunny, I am using #FBD0BD.
Draw a flat bottom teardrop shape similar
to this one.
You may have to use your objects selector tool
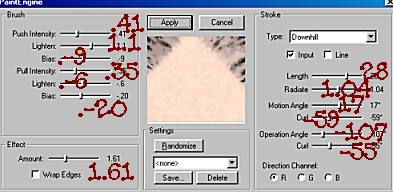
Go to effects, plug-ins, fantastic machine paint engine and use these settings
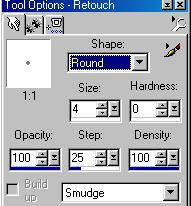
Now to do the fur we are going to use
the push brush And use these settings. Make sure you change the brush to smudge as shown below!
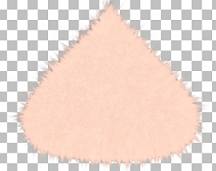
Now just using your mouse pull start at the top of you
body and pull with your smudge brush outwards. The longer the pull the
longer the fur will be and same with the shorter the pull the shorter the
fur will be. Continue doing this all the way around your bunny till you get
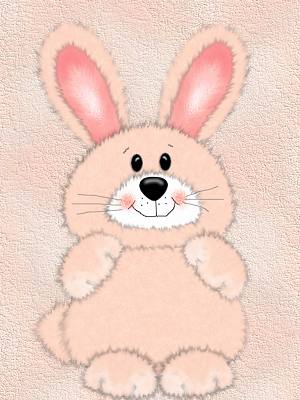
his fur the way you want it similar to this one
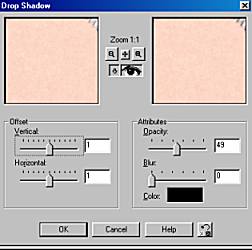
At this point I added a drop shadow because I wanted my fur to stand out, You can do this now or wait till you have your bunny done, If you chose to use a drop shadow go to effects, 3D effects, drop shadow and I used these settings,
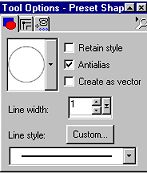
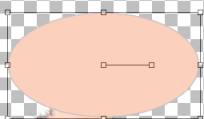
Add a new layer and name this layer head. Once again use your present shape tool only this time we are going to use the eclipse shape
Make sure the create as vector is CHECKED! We need to edit this node a bit. Draw a round flat shape for your bunny's head. similar to this one
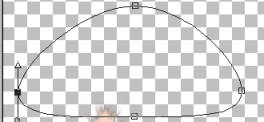
Go to your object selector tool once again and right
click on the inside of your image and go to node edit, Pull your bottom node
up to make the bottom flat, Your top node should be pulled up just a little
the two side nodes need to be pulled out similar to this image
Now once you have your head shaped the way you want it, Right click and go to quit node editing, then go to layers convert to raster. Now using the filter fantastic machines, paint engine with the same settings as we used on the body apply the filter.
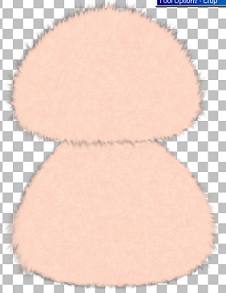
We also want to add some fur to his head so using your push tool again same settings as before using the same method. Making sure if you used long strokes for longer fur to keep with what you used for the body, if you used the short strokes make sure you also do that for your head. You might have to move your head layer just above your body layer so that the head sits on top of the body similar to this
Don't forget to add your drop shadow to the head if you chose to go ahead and add the drop shadow on your body. Use the same settings as we did on the body!
Now We want to add a new layer once you are finished with adding the fur, name this layer nose. Using your present shape tool again draw a small flat shape eclipse. This time you need to change your background color to white. Make sure create as vector is still CHECKED.. We want to edit these nodes just like we did on the bunny's head only this shape is lots smaller. pull the bottom one up to where its almost flat, The top node needs to be pulled up just a bit and the two sides need to go out just a bit. You image should look similar to this one only you don't have the fur yet
When you get your nose the shape you want it, you need to use your push tool to make the fur like we did above on the body and the head. I did not add the filter paint engine to the nose! Now make sure you add the drop shadow using the same settings as before. We want to give his head a bit of detail so go to page 2.
This Tutorial ©
Bunney's
Burrow 2001
|