|
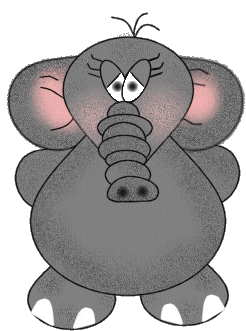
Bunney's Elephant Tutorial Lets Get started!
First you will need to open a new transparent image. I used 500 by 500.. I know its large but we can always resize this little guy in the end..
Choose the colors for your elephant I am using #808080. Set your foreground color to black and background color to the gray you have chosen..
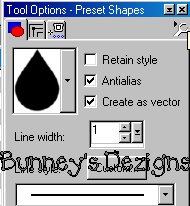
Ok now we need to click
on our present shapes icon Then choose your teardrop with these settings.
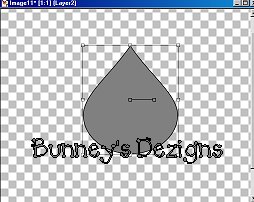
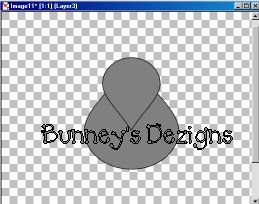
Open up your transparent image and add a new layer and rename this layer Body. Now use your mouse and draw your tear drop on your 500 by 500 image. We have chosen create as vector because if you want to change this teardrop.. I Just left mine as it was. Here is what you should have. Your image will be clearer and sharper as I have reduced mine for download time..
Now once you get your body the way you want go to layers convert to raster. Merge visible the body layer with the layer 2 and rename this layer Body. I know this is an
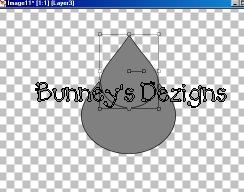
extra step but I did this incase you wanted to change your teardrop body;0) Now we are going to create a new Teardrop.. This will be the head . So go back to your present shapes tool and again click on your teardrop.. Same settings.. Now put your head over the body something similar to this..
At this point it looks nothing like a head LOL.. So what we need to do now is go to image flip.. And use your mover tool
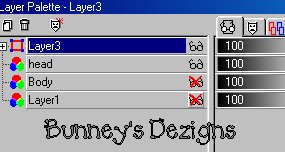
Now we need to go to selections select none once you get your face set where you want him.. I know these are extra steps but once again I just did this so if you wanted to change the face.. Ok now we need to merge these two layers but its VERY important that you go to your layers palette and make sure you put an x on layer body and layer one before you merge the layers like this..
This Tutorial ©
Bunney's
Burrow 2001
|
