|
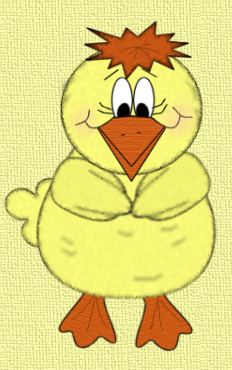
~Chicky~
This Tutorial was written in PSP 7 but can be modified for PSP 6. You Will need the filter Fantastic Machines Paint Engine for this tutorial which can be downloaded here. Unzip and install into your PSP Plugins folder.
Lets Begin
Open a new image 500 by 500 with
transparent background. Add a new layer and name this layer body. Using your
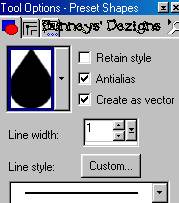
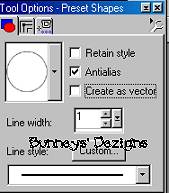
present shapes tool
PSP 6 users will need to create a
vector shaped teardrop. Your foreground color should be black, Your background
color should be the color you have chosen for you chick I am using #FFFF80.
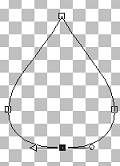
Now draw a teardrop for your body. We want to edit this shape just a little so
using your object selector tool
Once you get your body the shape you want right click on the inside of your teardrop and click quite node editing. Now go to layers convert to raster layer.
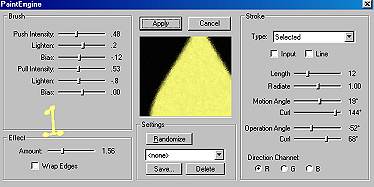
Now we want to use our Fantastic Machines Paint Engine filter. So click on effects, Plug-in Filters Fantastic Machines Paint Engine and use these settings
Add a new layer and name this layer head. Using your present shapes tool and the eclipse present shape and these settings
Draw a circle for your head similar to this
Now we are going to use our paint engine again . So go to effects, plug-in filters , fantastic machines paint engine and use the same settings as we did on the body.
Make sure you are on your head layer and add a new layer . We are going to
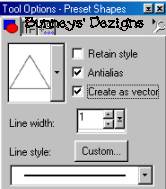
give him a beak, so name this layer beak. Using your present shapes
tool and your triangle shape
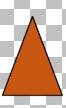
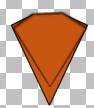
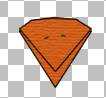
Now change your background color to an orange. I am using #C75613 . Draw a
triangle similar to the one below
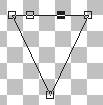
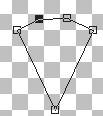
Now go to image flip . We want to edit this node just a little . Go to your object selector tool right click on the triangle and go to node edit we want to add two nodes to the top as I have done here
To do this place your curser over your triangle and using your Ctrl key on
your keyboard move your cursor over your triangle until you see +add click .
Add your two nodes. Now we need to pull those two nodes up like this
Now once you get your beak the way you wanted right click
inside and go to quit node editing. Now go to layers convert to raster layer.
We need to make a smaller beak, so go to edit copy edit paste as new image. We
want to use our deformation tool
I have used a texture on my beak, So if you chose to add a texture do that
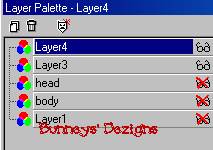
now. We are going to merge these two layers into one So go to your layers
palette and place an X on Layer 1, Body layer, and Head Layer, like this.
Your layers might be a little different then shown here. Just
wanted to show you the layers palette and how to put your X's over a
particular layer. Now merge visible the beak layers and rename this layer
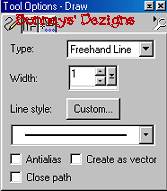
beak. While we are still on our beak we are going to draw a small indents on
the beak. Using your draw tool
Draw two little notches on his beak similar to this.
This Tutorial ©
Bunney's
Burrow 2001
|