|
Bunney's Christmas Lights Tutorial This tutorial was created using PSP 7 but could probably be revised for other versions of PSP. I hope you enjoy this tutorial. To get to the elf tutorial that goes with the Christmas lights click here. Thank you
Let's Begin
Open a new 200 by 200 16.7
million colors transparent image. Your foreground (styles) color should be
set on black, your background color needs to be whatever color you want for your
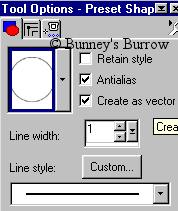
lights. I am using #A11F1F. Using your preset shapes tool
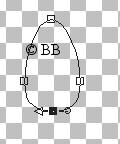
Draw an oblong circle on your image like this
Using your object selector tool
On the bottom node pull it straight up to where its almost flat at the bottom like this
Once you have your light the way you want it right click again and go to quit node editing, then to layers convert to raster. Name this layer light. You should have something similar to this
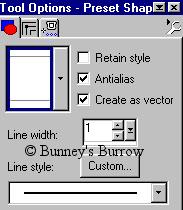
Using your preset shapes tool
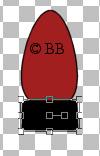
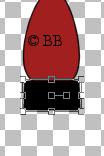
Change your background color to black, foreground (styles) color should still be set at black. Draw a rounded rectangle at the bottom of your light like this
While using your Ctrl key on your keyboard move your mouse over the top right nodes click on the top right node and pull toward the left middle like this
You can now go to layers convert to raster, You have yourself a Christmas Light. Change the colors if ya wish. Nothing fancy, But Has different uses. Then merge visible and tube them if you wish!
I hope you enjoyed this tutorial as much as I did creating it, As Always if I have left something out or something isn't clear to you don't hesitate to email me at kitchel@webworkz.com and I will answer all email as soon as possible. All images on this site are
copyright by me at Bunney's Burrow. Please do not remove them or upload them to
another server. If you see this tutorial on another server without my permission
please email me!
This Tutorial ©
Bunney's Burrow 2001
|

