|
Bunney's Cow Tutorial I hope you enjoy this Tutorial as much As I have creating it:0) This was written in PSP 7 But can be used for 6 you will just have to create your own teardrop .
Open a
new 500 by 500 transparent image. Add a new layer name this layer body. We
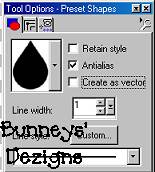
are going to use our shapes tool
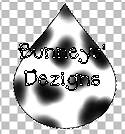
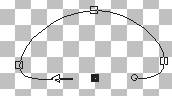
Make sure your foreground color is set to black and your background color is set to white. Now draw a teardrop on your 500 by 500 image. If you want a fat cow, draw a fat shaped one and a skinny one just the same the choice is yours ;0) Here is what mine looks like. Yours of course will be larger and more detail and wont have the spots yet, We are going to add those next.
Now we
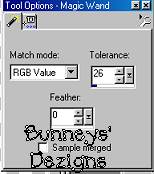
want to add our spots. We are going to use our magic wand
Click on your cow body to where the
marching ants are around our body. Go to selections invert to make sure they
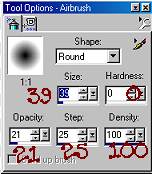
they are just around the body. We now want to use our airbrush to paint
the spots So go to your airbrush tool
Now use your imagination and spray spots all over the
cow body.. Once you get the spots placed where you want them go to selections
select none.
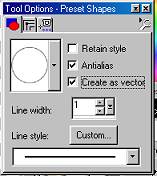
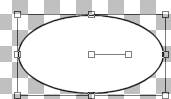
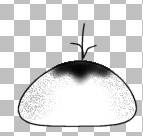
Add a new layer and name this layer head. We are going to use our shapes tool once again only this time we are going to use the eclipse we need to edit this shape so use these settings when you draw your eclipse.
We want kind of a flat oblong shape at this point this is what mine looks like.
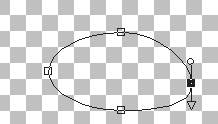
We want to edit this vector shape so go to
your object selector tool
The Bottom node needs to come up toward the top like this
We are wanting to get the bottom flat. your head should now look like this.
Yours will not be decorated yet of course . We will add the spots later for the head.
Add a new layer and name this layer mouth change your background color to a light pink or peach. I am using #FFBD85. We want to use our shapes tool once again only this time you can uncheck the vector if you wish, You wont be needing it for the mouth.
Using your eclipse shape we are going to draw a round
shape like we did for our head. Like this (once again yours will not be
decorated yet:0)) That's
the next stop :))
Using your magic wand click on the mouth making sure the
marching ants are only around the mouth go to selections invert if you need to
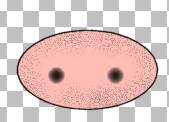
just get the ants around the mouth. Now using the airbrush tool using
the same settings as before spray two dots where the nose should be like I
have in the sample above.
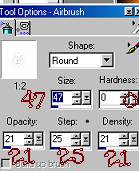
We want to add the black specks like I have now so
using the airbrush again this time we want to change the settings to this
This Tutorial ©
Bunney's
Burrow 2001
|