|
All Dressed Up For
This tutorial was written for PSP 7. No outside filters where used for this tutorial. This tutorial assumes you have basic knowledge of layers and preset vector shapes;))
Lets Begin
Open a new 500 by 600, 16.7 million colors, transparent image. Go to layers , new raster layer and name this layer head. Your foreground (styles) color should be set on black and your background needs to be a light brown or a color you want your bear to be, I am using #BF896C.
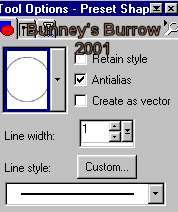
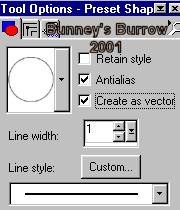
Going to your preset shapes tool
Now draw a circle for the bears head. Add a new
layer name this layer ear. Using your preset shapes tool draw a smaller
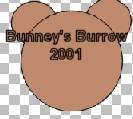
circle for the bears ear, once you get your ear the way you want it
go to edit, copy, edit paste as a new selection and place on the opposite
side of the bears head. Open your layer palette and drag your ear layer
below your head layer. this is what you should have;))
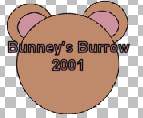
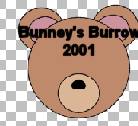
Add a new layer and name this layer inner ear, Change your background color to a light pink I am using #CE919E. We are going to use the same preset shape ellipse as before only this time we are going to draw even a smaller circle for the inner ear. Once you get your inner ear the way you want it go to edit copy, edit paste as a new selection and place this inner ear on the opposite side.
Once again change your background color to a
light brown, I am using #DAB596. Open your layer palette and
highlight your head layer then add a new layer and name this layer muzzle.
Using your preset shapes tool
Open your layer palette up and place a red x on layer 1
You can merge visible these layers now by going to layers, merge visible and rename this layer head.
Add a new layer and name this
layer nose. Again using your preset shapes tool
Change your background color to
black, both your foreground (styles) color and your background color
should be black. Now on your muzzle area, draw a small black circle for
his nose. Then using your object selector tool
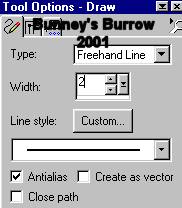
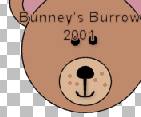
Once you have your nose the way you want it right click again and go to quite node editing, Then layers, conver t to raster. Add yet one more layer and name this layer mouth, using your draw tool
Draw a mouth shapes like the image below.
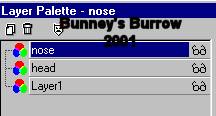
Now open your layer palette and place a red x over your layer 1 and
your head layer and go to layers merge visible and name this layer
nose, this is what your layer palette should like now
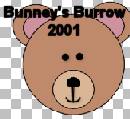
Add a new raster layer and name this layer
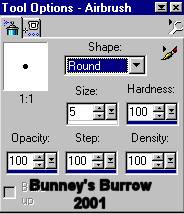
eyes, Using your air brush tool
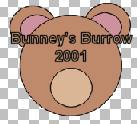
Spray two eyes just above your bears muzzle and nose like this
We are almost done with the bears head, Add a new raster layer , no need really to name this layer. While you are still using your airbrush tool, change your foreground color to a light beige/brown I am using #BF896C, Using the same settings on your airbrush tool spray some whiskers on both sides of the bears mouth like this
This Tutorial ©
Bunney's
Burrow 2001
|