|
Bunney's Friendly Ghost Tutorial Page 2
This part isn't as long as his
face was, This one is fairly easy. Add a new layer and name this layer body.
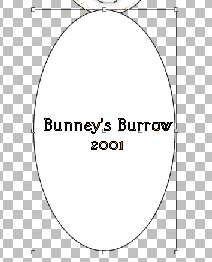
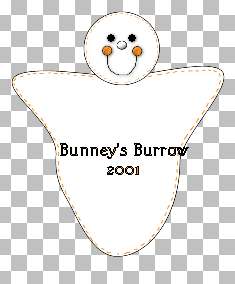
Using you preset shapes tool
Draw an oblong circle for the ghosts body. This is what mine looks like, Keep in mind, yours will be larger and more detailed. I have resized this one for download time.
Now we need to edit his body, so using your object selector
tool
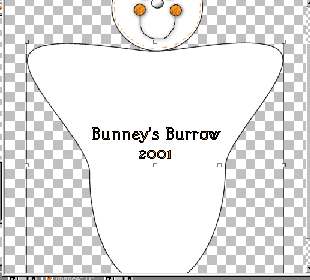
Now the nodes you just added take one at a time starting with the left pull it up and outwards to where its almost even with the very top node , Do the same with the node on the right pull it up and out to the right to where its also almost even with the very top node of your ghosts body. Like this
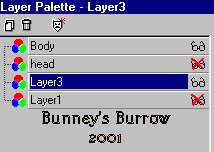
Once you have your body shaped the way you want it right click again and go to quite node editing. Then go to layers convert to raster. Now pull this layer to just below your head layer, When we create a vector we also are adding a new layer at the same time. So we want to get rid of this one layer. Open up your layer palette and put a red x over your head layer and layer one like this
Now go to layers merge visible and name this layer body. Now you can go back to your layers palette and click back on the red x's so that you can now see the rest of your layers .
Add a new layer no need to name this layer either, we are just going to add
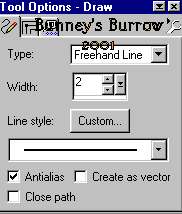
the same stitches to his body as we did on his head. So using your draw tool
Change your foreground (styles) color back to the orange you have been using thru out this tutorial #FF9724 and begin drawing your stitches around his body, Take your time, They don't have to be perfect but do need to be pretty close the same size. Here is what mine looks like now.
Now we are almost done, We need to add a few wrinkles to his
body and head, Using your draw tool
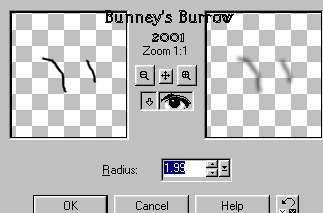
Add a new layer because we don't want those on the same layer as your stitches, Now draw a couple black lines to where you want your wrinkles to be. Once you have those where you want them I added a gaussian blur to mine so go to effects, blur, gaussian blur and use these settings
Don't forget to do the lines just under the ghosts head like this
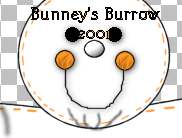
Now I added a bow, I created this bow using preset shapes and
have created a tube out of it, You are more then welcome to download the tube
here
and use the one I created or you can use your imagination and create one of
your own, I was going to add the bow into this tutorial but its a lot of steps
sorry. Maybe at a later time:)) And that is it your Friendly Ghost is now done;))
|