|
Drawing A Watermelon Page 2
Add a new layer and name this layer
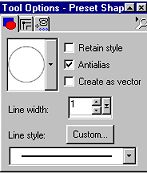
seeds. Using your present shape tool browse to find your teardrop shape
Change your foreground color to black you background color should be black also. Create as vector should NOT be checked we will not be needing that at this point. Your line width needs to back to 1 at this point . Draw a small black seed on the inside of the red part of your watermelon like this
Now instead of drawing all the little seeds We are going to edit copy edit paste as new selection and place the seed on your watermelon, Continue doing this till you have as many seeds as you would like on your watermelon mine looks like this at this point
Now we want to add a little gloss to the
seeds. Go to effects, plug -in filters, eye-candy and use the glass setting
with the same settings as we did on the watermelon itself. This gives your
seeds a glossy look. Now you can merge this layer with your watermelon layer
if you wish. Make sure you place an x on layer 1.
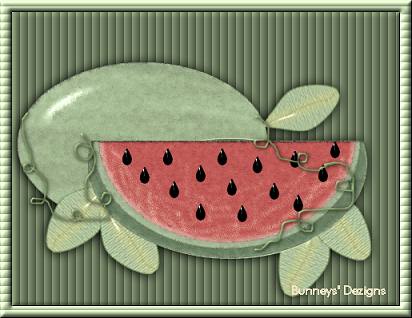
Now that's if for the cut watermelon. I also made the
vines and the leaves. Of course they are all option. What I did for the
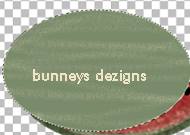
whole watermelon was I added a new layer. My foreground color I set
back to the # COD5AC my background color is set to #7A8B6B. Using my present
shape tool vector UNCHECKED and using the eclipse draw a large round circle
similar to this one
Yours will be larger of course. Using
your magic wand select your whole watermelon you may
have to go to selections invert to make sure you ONLY have your marching ants
around your whole watermelon. Using your airbrush tool
Change your foreground color to a light yellow I am using #EFE4C6 and spray paint you some lines on your watermelon doesn't have to be perfect. This is what mine looks like
When you get it the way you want it select none.
Now add the same texture if you chose to use a texture like you did on your
cut watermelon. Then we want to add the same filter eye-candy glass using
the same settings as before. Then use your paint engine plug in with the
same settings or you can play around with the settings to suit your likes.
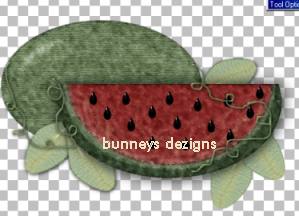
Move this layer below your cut watermelon layer . Here is what you should
have at this point. Yours will look a little different then this because
Mine has drop shadows and the vines and the leaves.
Now to add your vines, Add a new
layer name this layer vines. Use your draw tool
And just draw some squiggly lines for the vines. I
used an inner bevel on my vines with these settings once I got my vines
placed where I wanted them
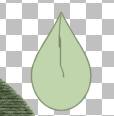
Now all that's left is your leafs. Add a new layer
and name this layer leaf. Using your present shape going back to the
teardrop create as vector UNCHECKED. Your foreground color should be the
darker green you used for your watermelon your background color needs to be
the lighter green we have been using. Now draw a small teardrop shape for
your leaf. Use your magic wand and select only the leaf making sure the
marching ants are around the leaf ONLY. You may have to go to selections
invert. Now use your draw tool line width 1 draw a straight line down the
center of your leaf like this
Now using your airbrush change your foreground color to a light yellow I am using #EFE4C6 use these settings.
Now draw some yellow down the center of the green line you just drew like this
Add your same texture if you have chosen to use a
texture and then use the eye-candy glass filter with the same settings we
have been using. And then place as many leaves as you want around the vines.
Using the edit copy edit paste as new layer . Then that's it. All that's
left is adding a drop shadow. I used these settings on each of my layers
before I merged them
And that's all there is too it. Easy wasn't it LOL. I hope I didn't leave anything out. If so Please don't hesitate to email me at kitchel@webworkz.com and I will answer all email as soon as possible! Thanks for giving me Watermelon Tutorial a try. While your here check out my other tutorials. Here is another example of the watermelon tutorial using different settings with the paint engine. So its unlimited, Play around with it to see what you can come up with.
This Tutorial ©
Bunney's
Burrow 2001
|