|
Cooky Page 2 Add a new raster layer and
name this layer eyes. Very important that you make sure this layer is at the top
of your layer palette otherwise you will not be able to see your eyes, They will
be hid by another layer. Change your background color to white. Your foreground
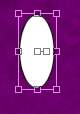
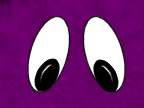
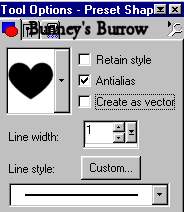
(styles) color should be black. Using your preset shapes tool
We just created this one as a vector so that we could rotate it without using any of our other tools. Move your mouse over the inside where you see the two nodes up above in this image when you see the two arrows move it to the right like this
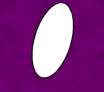
Now you can go to layers convert to raster, Then edit copy, edit paste as a new selection, then image mirror and place on the opposite side of the other one like this.
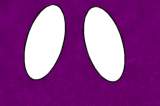
Now you will need to change your background color once again back to black. Both foreground (styles) and background colors should be black. Do the exact same thing you did for the eyes only make them smaller for the inner eyes. You will need to rotate them just like we did before. This is what you should have now
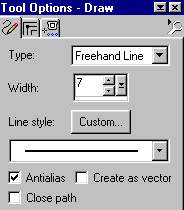
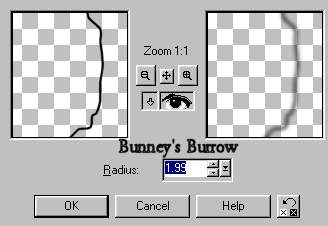
The eyes shown above already have the white gloss to them. I used eye-candy glass effect but this is optional. If you don't have eye-candy then you can use your draw tool settings at 1. Change your foreground (styles) color to white and draw a line on the eye. Make sure you add the white line on another layer, otherwise when we add the blur it will blur the entire eye and we don't want that. Then go to effects, blur, gaussian blur. I used a radius of 1.99. If you used this method then your eye will look similar to this . Either way you chose is up to you. I used eye-candy glass. This is what my eyes look like
Change your background color to null, foreground (styles) color is still set at black
Now going back to your draw
tool
Add a new raster layer name this layer spider features. Draw your spider some eyelashes like this
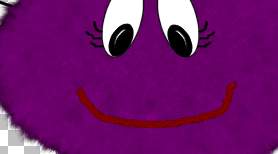
And don't forget to add him
some eyebrows as well. Now add another raster layer and name this layer mouth.
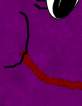
Change your foreground (styles) color to red I am using #800000. Still using
your draw tool
Draw your spider a mouth like this
I added the fantastic machines
paint engine filter to his mouth, Play around with the settings see what you
come up with. This part is optional though;)) We are almost done. Add yet one
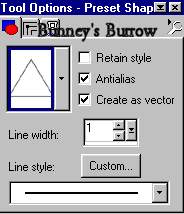
more raster layer and name this layer teeth. Change your foreground (styles)
color back to black, your background color to white. Using your preset shapes
tool
Draw a small triangle for your
spiders tooth, you will need to rotate the tooth as we did before on the spiders
eyes. Once you are finished with your tooth, edit copy, edit paste as a new
selections then image mirror and place on the opposite side. Then go to layers
convert to raster layer. Only one more step and you are done. Add one more
raster layer (no need really to name this layer ) and change your background
color to null, Using your draw tool
Now go to effects, blur, gaussian blur and use these settings
One more step I promise lol.
We can't forget his nose. Using your preset shapes tool
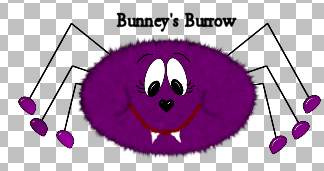
Draw a small heart in the center of your spider for the nose. I have also added the eye-candy glass effect to my spider's nose but you can add the white inside his nose just like we did for the eyes. This is what you should have now
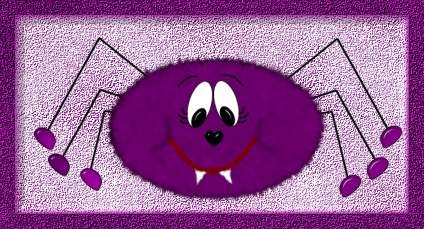
You are now done with your spider, You can merge visible all layers and tube your spider at this point if you wish. I hope you enjoyed this tutorial as much as I did creating it. As always if I have left something out or something is unclear to you then please don't hesitate to email me at kitchel@webworkz.com and I will answer all email as soon as possible. Thank you! |