|
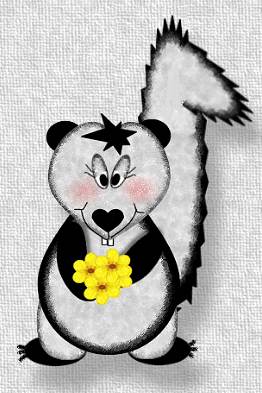
~Stinky~
This tutorial was written for PSP 7 But can be modified for PSP 6.
I hope you enjoy this tutorial as much as I did creating him for you;0) I had a special request for this little guy (Thanks Dottie)!
Lets begin....
Open a new image 500 by 500. Add a new layer
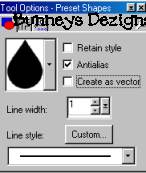
and name this layer body. Go to your present shapes tool
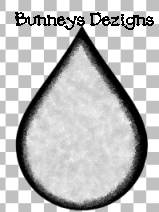
Both your foreground color and background color should be black. Now draw you a teardrop shape. As fat or as skinny as you want it. Add a new layer and name this layer body white. Change your foreground and background colors to white. And draw a smaller teardrop inside the black teardrop like this .
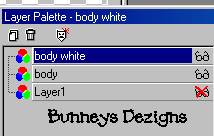
Your Image will be larger and wont have the fur yet. We will are going to add that next.. We want to merge these two layers . So go to your layers palette
and place an X on layer one. Merge visible body and body white
layer and rename this layer body. We are going to use a filter on the
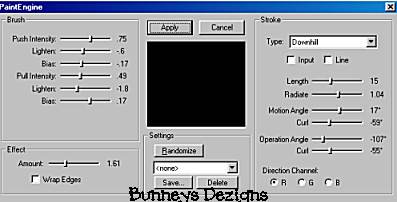
body to give him a little fur. You can download paint engine
here.
Install it into your PSP Plug-ins Folder. After you have paint engine go to
effects, plug in filters paint engine and use these settings
Add a new layer and name this layer head. Going back to your present shapes tool we are going to use heart 1 for our head.
Make sure your foreground color is set on black and your background color is set on white. Use the same settings as we did on our body. Now draw your heart shaped head . Position it over the top part of the teardrop body like this.
Go to effects plug-in filters paint engine and use the same
settings as we did on our body.
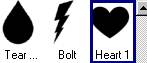
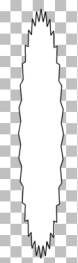
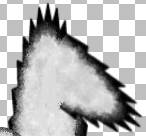
Add a new layer and name this layer tail. Go to your present shapes and this time we are going to chose starburst 3
Go to effects plug-in filters , paint engine and use the same settings as we have before on our body and head. Place your tail layer behind your body layer. On your layers palette you should have your head, body, tail and layer 1. Place your tail to the right side of your body like this
Now don't laugh at this next part LOL. As I
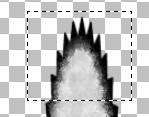
didn't really want to mess with vectors on my tail so to get the curve make sure
you are on your tail layer we want to use our selection tool
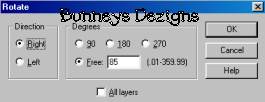
Go to edit copy, edit paste as new layer . We need to rotate this image . Go to image rotate and use these settings
Now place this section of our tail near the top of his longer
tail, like so.
Place an X on layers head, body and layer 1 we want to merge our two layers to make one tail. So merge visible your tail layer and the layer you just made for the curve tail rename this layer Tail.
This Tutorial ©
Bunney's
Burrow 2001
|