Crow Tutorial
Page 4
Add a new layer and name this layer patches. Change your
background back to the same patter fill we used earlier on his shirt.
foreground color should still be black. I used a heart on mine but you can use
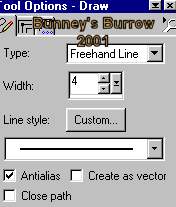
your own preset shapes and come up with your own. I drew a heart on his
overalls and then I used my draw tool with these settings
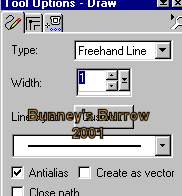
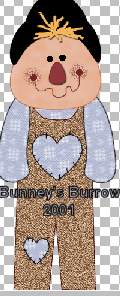
And drew the stitches going all around the heart this is what
mine looks like now
Now all that's left are his shoes and hands. Add a new
layer name this layer hands, using your preset shapes tool again this time
using your ellipse shape as we have before, your create as vector is NOT
checked. Your foreground (styles) color needs to be changed back to the
same color we used for his outline of the scarecrows head #E3862B your
background color is #E7BEAA Draw a circle for his hand. This time all I did
was use my draw tool with these settings (colors are still the same)
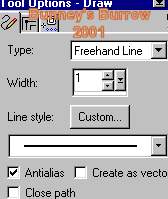
Then I drew a simi-circle on the end of his hand for his
thumb. Using both colors will fill what ever you draw. So make sure you don't
draw a complete circle. This is what my hand looks like

This one is already showing the peach coloring like we did on the scarecrows
face. Go to edit copy, edit paste as a new selection then image mirror
and place the other one on the left side. Use your magic wand and select
only the scarecrows hands so that the marching ants are only around the
hands. Nothing else:)) I added a new layer (make sure you keep the marching
ants around the hand during this next part) and used my airbrush with these
settings
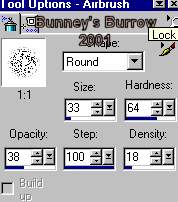
And then sprayed a little color using the same color you have
already set. The orange/peach color on both hands. Once you have this done go
to effects, blur, gaussian blur and use 1.00 for your settings.
Go to selections, select none and all that's left are his
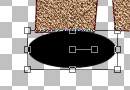
shoes. Once again using your preset shapes tool with the ellipse shape, change
your foreground (styles) and your background color both to black. Make sure
that create as vector IS checked and draw a small oval shape at the bottom of
his overalls.
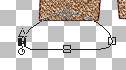
Using your object selector tool right click and go to node edit and the two
side nodes need to be brought down to the bottom of the shoe like this
Right click and go to quit node editing, then layers convert
to raster, We need to add the other shoe so go to edit copy edit paste as a
new selection and place on the other side of his overalls . This is what you
should have now
Only one more thing and we are done;)) We need to add his
straw to his arms.. Add a new raster layer change your foreground (styles)
color back to the yellow we used earlier for his straw hair, #F6B559 and use
your draw tool with these settings
Make sure you change your background color to null like we did earlier. Now
draw some straw using short small strokes . Make sure this layer is
just below the arms layer so that the straw looks as if its coming out from
under his shirt. Use your imagination. I also added a drop shadow to my
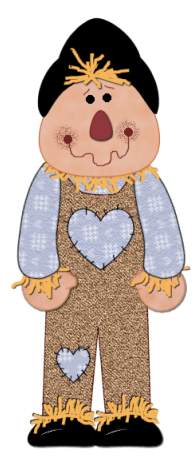
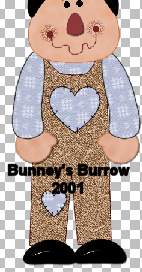
straw. Do the same for the straw for his legs and his shirt like I
have done here, Add a new layer for each and add your straw. Make sure
the layer for his straw for his shirt is under the head layer and the layer
for his legs is above the shoes and overall layer. Guess what you are now
done with your Scarecrow. This is your finished image