|
Fuzzy Bunny Tutorial Page 4
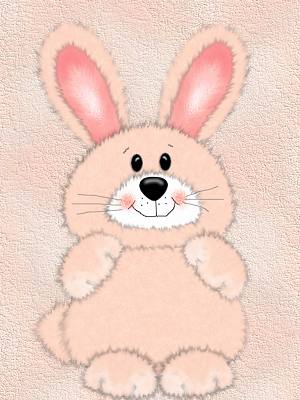
Add a new layer and name this
layer bottom paws. Now this one is easy lol. I took my paws we just made and
edit copy and edit paste as new layer and rotated them to the above image and
placed them at the bottom of the body . Edit paste as new layer another bottom
paw and place this one on the opposite side like the image above.:0)) Add a new layer and name this layer tail.. Make sure your foreground color is still gray your background color is still the color of your bunny, Going to your present shape tool again using the eclipse draw a small circle you do not need to have create as vector checked so make sure it is UNCHECKED now . And all you need to do now is use the paint engine filter on your tail like we have before using the same settings and using your retouch tool pull it outwards to create your fur using the same settings as we did before.:))) That was simple huh LOL Make sure this layer is placed behind your body layer like this.
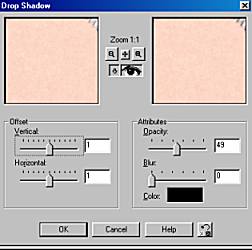
Add your drop shadow like we did on page one using these settings
And that's it :0)) You have your self a fuzzy bunny. You can either merge all layers and tube for later use or create a background image and just let your imagination run wild:)))
I hope you have enjoyed this tutorial.
And hope that I haven't left anything out. If anything is unclear or I have
left something out please email me at kitchel@webworkz.com
and I will answer your email as soon as possible:)))
This Tutorial ©
Bunney's
Burrow 2001
|