|
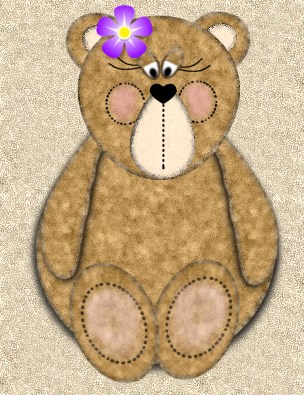
My Teddy Bear
Page 2
Add a new layer and name it cheeks, use your present
shapes tool with these settings
Draw a small circle on one side of your teddy bears nose like this
Make sure you drag this layer below your nose layer. You can merge your nose layers if you would like however I chose to leave them as individual layers incase I want to change something later on.
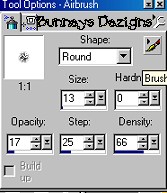
We are going to use our airbrush
Your background color should be set to a light pink I am using #EOA998 now spray a little paint into the cheeks. Once you have the cheeks the way you want it, go to edit copy, edit paste as new layer and place the other cheek on the other side of the nose. Once again make sure this layer is below your nose layer.
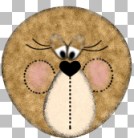
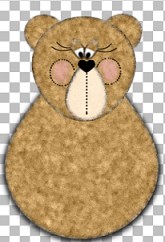
Now you can merge these layers for your head as we are now done with the
head. So go to your layers palette and place an x over layer 1 and body
layer and merge visible the remaining layers and name this layer head.
Before you merge make sure you have your lines brought up to the front
from his nose. Your bear head should now look something similar to this
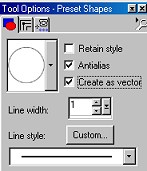
Add a new layer and name this layer ear. Your foreground color should be set at black, your background color should be the same color we used for our teddy bear. Going back to your present shapes tool we are going to use our eclipse once again with these settings
Make sure you change your line back to #1 Solid. And also Create as vector
is CHECKED.. Now draw a small oval shape for the ear. We are going to edit
this shape. So right click in your oval and go to node edit, We just want
to bring the bottom node up to flatten almost the bottom part of our
shape. Like this
Once you get your ear the shape you want it. Click on the inside of your
ear until you see the two circle arrows and rotate it to go behind the
bears head. Make sure you also move the ear layer behind the bears head.
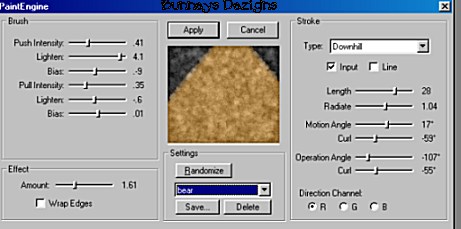
Go to layers convert to raster. We want to add the same plug in
filter to this ear as we have on our bear . Go to effects, plug-in
filters, fantastic machines, paint engine and use these settings
Now edit copy, edit paste as new layer and place this ear on the opposite
side of the bear you should now have this.
Add a new layer and name this layer inner ear. Use the same present shape
as we did for the ear and draw an oval the same way only this one will be
smaller and we want to change your background color to the same cream or
light brown that we used for our nose.. Foreground color should still be
set at black. Once you get your inner ear the way you want it we are going
to add the filter fantastic machines only this time using these settings
Make sure you edit copy edit paste as new layer and image mirror and place this one on the opposite side.
You can of course once again merge these layers but I chose not to.. Now to add some arms.. Go to page 3.
This Tutorial ©
Bunney's
Burrow 2001
|