|
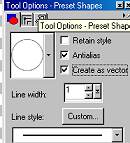
~Stinky~ Page 2 Add a new layer and name this layer hind foot. Go to your present shapes tool and browse for your eclipse using these settings
Your Eclipse will be the round shape as shown above. We need to edit this one so make sure your Create as vector is checked. We are still using the colors foreground black and background white. Now draw a circle on your image like this.
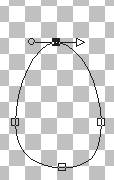
Go to your object selector tool
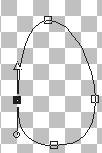
Pull your right node out just a bit and your left node in just a bit like
this
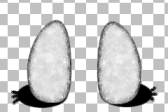
Once you get your nodes set where you want them and the shape you want go to layers convert to raster. We are going to use our Paint Engine filter again on this hind foot so go to effects, plug-ins, paint engine and use the same settings as before. Move this layer behind your body layer. We want to make another hind foot for the left side, So go to edit copy , edit paste as new layer and then image mirror place this one on the left side like this.
Now we need to merge these layers so place an x on all layers except the two you just made for your hind feet. An X should be placed over head, body, tail and layer 1 . Merge visible your two hind feet layers, Rename this layer hind feet.
Add a new layer and name this layer feet. Change your background color
to black. Using your present shapes tool this time vector unchecked. Draw a
small circle using the eclipse as we did with our hind feet. Like this
Now to add him some toes. We are going to use our retouch
tool
In your middle box above we want to chose push. Now on your feet just using your push tool to pull a few toes out like I have here
Now we want to go to edit copy, edit paste as new image and then image
mirror and place this one on the right hand side. Place them directly under
your hind feet like this
Once you get these placed where you want them we want to merge these layers, So make sure you place an X over body, tail, hind-feet and layer 1 and merge visible these two layers and rename this layer feet.
Now we are going to add his hands.
This Tutorial ©
Bunney's
Burrow 2001
|