|
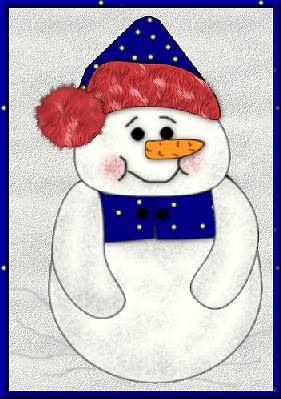
Bunney's Frosty The Snowman Tutorial Page 5 Are you ready to finish up?? I bet your saying I wish this one wasn't so long. Sorry, I like detail I guess you noticed that lol. So if you will open your layer palette and highlight your eyes layer and add a new layer and name this layer nose, we are going to finish him up now;))
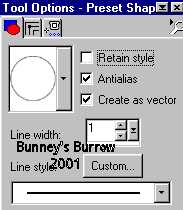
Draw a small oblong shape for his
nose. Use your object selector tool
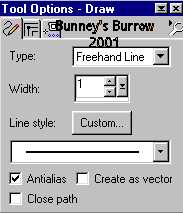
Draw some small black lines on your carrot.
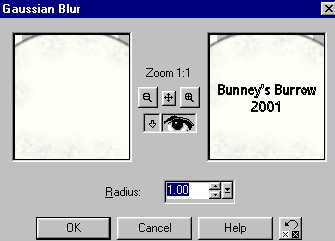
Then use the same gaussian blur by going to effects 3D effects, gaussian blur
and use these settings as before
Now you can add a drop shadow to his nose if you wish, I added a small drop shadow and I also added one to his hat and his shirt. Guess what we are officially done, LOL You can merge visible all layers now and tube him or make a snow scene with him:))
I hope you have enjoyed this tutorial as much as I have creating it. And as always if something isn't clear or I have left something out please don't hesitate to email me at kitchel@webworkz.com and I will answer all email just as soon as possible;)) While you are here why not try my other tutorials? This Tutorial ©
Bunney's Burrow 2001
|


