|
Bunney's Frosty The Snowman Tutorial Page 4
Add another layer and name this
layer shirt. Make sure your foreground (styles) color is black and set your
background color to the same blue you use for your hat, I am using #000080.
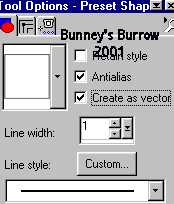
Using your preset shapes tool
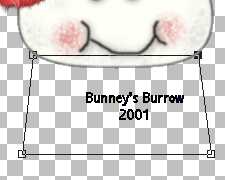
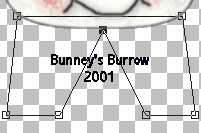
Draw a rectangle just below your snowman's
head. Click on the top nodes and bring those in to where they are plush to the
snowman's head like this
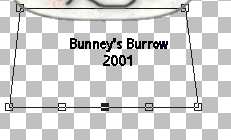
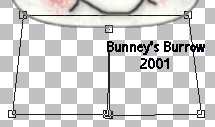
Using your object selector tool
Pull the middle node all the way up to the top of the top line like this
Pull your other two nodes into the middle like
this
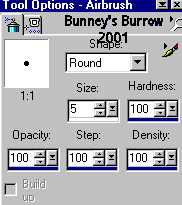
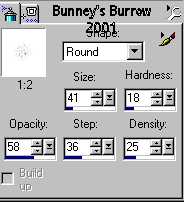
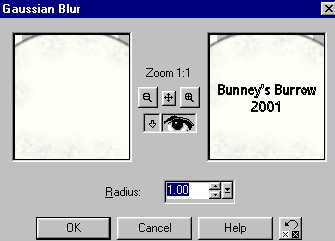
Now right click and go to quite node editing. Go to layers convert to raster and click ok. You will need to drag this layer below your head layer. I also added my dots to the shirt like I did for the hat, This is optional and really up to you. If you wish to add the dots use your air brush tool like before and the same settings as before. Don't forget to put those on a new layer if you want to use the gaussian blur on them as before. Gaussian blur was set at 1.00.
Add (yes you guessed it) another layer, ( I am
a big layer fan as you can see because if one layer gets messed up you just
have to go back to that layer and not the entire thing;0)) name this layer
buttons, Change your background color to black, both your foreground (styles)
color and background colors should both be black now. Using your preset shapes
tool
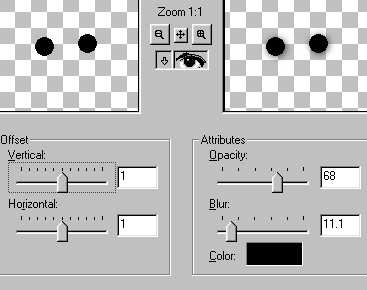
I added a slight drop shadow to the buttons using the same settings as earlier
I just noticed that we didn't do the carrot yet
lol. Don't worry I will add that last. But for now add another layer and name
this layer body. Change your background color back to the same cream/white you
used for your snowman's head I am using #F7F8F0 your foreground (styles) color
should still be black, now using your preset shapes tool using the ellipse
only this time make sure create as vector IS CHECKED!!
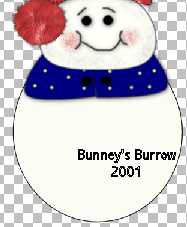
Draw a round oblong shape for the snowman's body. The key point on drawing the body is to make sure it doesn't overlap the shirt, And make him long and oblong here is what mine looks like
Remember this one has been resized I set it as
a vector shape incase you need to edit it, Using your magic wand
Change your foreground (styles) color to the medium/dark gray used earlier on the snowman's head #808080 and spray some light areas inside the snowman's body. Now go to effects, 3D effects, Gaussian blur and use these settings
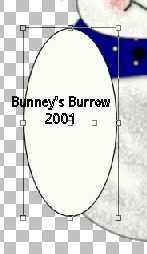
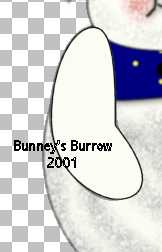
We are almost done I promise lol add a new layer and name this layer arm Using your preset shapes tool same settings as for the body, The ellipse and create as vector checked. Draw a long oblong circle for his arm like this
Go to your object selector tool
Once you get your arm set the way you want it
right click and go to quite node editing, Then go to layers convert to raster.
Again using your magic wand make sure you select only the arm and using your
air brush with the same settings as before, Change your foreground (styles)
color back to gray #808080 add a new layer and spray the arm like you did
his body. Then we want to add the gaussian blur using the same settings also.
Settings where set at 1.00. Once you get the arm the way you want it go to
edit, copy, edit, paste as new layer then image mirror and place this one on
the other side of his body. Now these two layers need to be drug down below
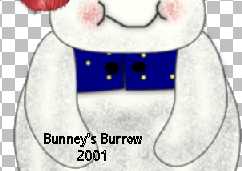
the head layer so that it sets just below his head like this
This page is getting a little large so I will add the nose on the next page. Want to finally finish up go to page 5. Wow I don't think I have ever had a tutorial with 5 pages lol sorry this one is pretty long. Took me a while to write this one. This Tutorial ©
Bunney's Burrow 2001
|
