|
Bunney's Frosty The Snowman Tutorial Page 3
Add a new layer and name this
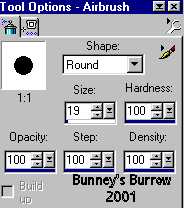
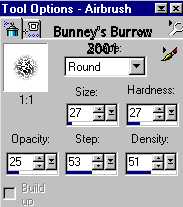
layer eyes. We are going to use our air brush tool
On your airbrush your settings should be
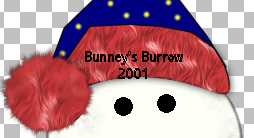
Now spray two eyes where his eyes should be. Mine looks like this
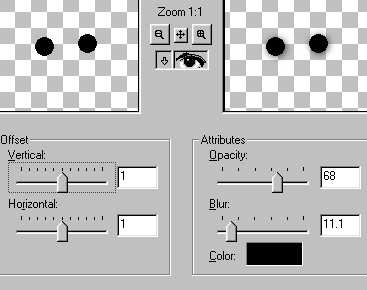
I added a drop shadow to his eyes, So go to effects, 3D effects, drop shadow and here are the settings
Add the same gaussian blur we used before. Your settings should still already be set:0)
Now add yet another layer and
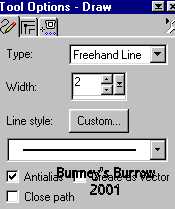
name this layer mouth. We are going to use the draw tool
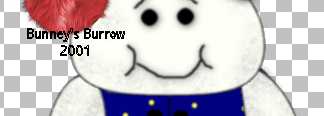
Now draw your snowman a mouth, Use your imagination;)) here is what mine looks like:0) You will notice mine already has the eyebrows and body in this screen shot but you get the point of how the mouth should look:0)
Now while we are still using our draw tool go ahead and add him some eyebrows while we are at it;)) I have also added a gaussian blur using the same settings as before, This just rounds it a bit;)) Now add the same drop shadow as we did before. Add a new layer and name this layer cheeks, We are going to use the air brush tool with these settings
You need to change your foreground color to a
light pink or red for his cheeks I am using #C00000. Spray some color onto his
cheeks . I have also used the same gaussian blur settings as before set on
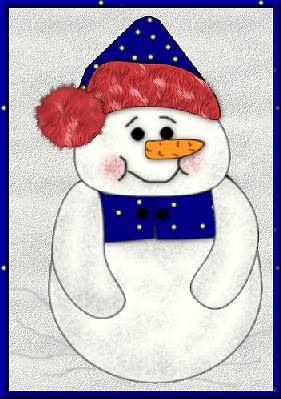
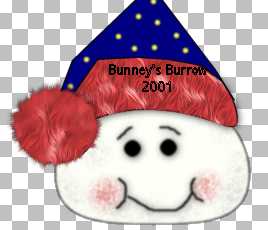
1.00. This is what my snowman looks like at this point.
Phew, take a deep breath we are now done with
his head LOL. You can merge visible all layers at this point if you wish, I
left mine as they where incase I wanted to go back and change something
later;)) Are you ready to begin his body now? If so go on to page 4.
This Tutorial ©
Bunney's Burrow 2001
|
