|
Bunney's Frosty The Snowman Tutorial Page 2
Add a new layer and name this layer name
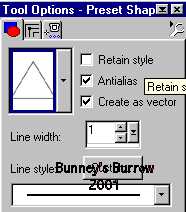
this layer hat. Using your preset shapes tool again
Change your background color to a dark blue or one that you want his hat to be I am using #00007F. Your foreground (styles) color should still be set on black. Draw a triangle on top of your
hat rim, Again using your object selector tool
Depending upon your size of hat you may need to add a couple more nodes and play around with it to get it to shape right. Once you get your hat shaped the way you want it go to layers convert to raster, Now open your layer palette up put an x over Layer 1 and the head layer and go to layers merge visible. Rename this layer Hat.
I added some dots to my hat if
you would like to do this follow on with this next step if not then go to the
next step. First add a new layer, doesn't matter what the name of this
layer is . I added this to another layer because I am going to blur it a little
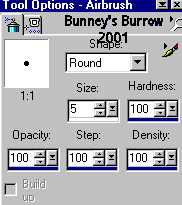
here in a second. To add the dots using your airbrush tool Using these settings
Now just spray some dots all around your hat,
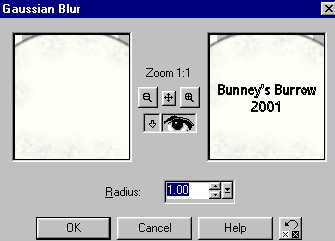
When you get it the way you want it, go to effects, blur, gaussian blur and
use the same settings as before
Click ok, going back to your layer palette, a red x should still be over your head layer and layer 1, again we want to merge visible the new layer you just added so go to layers merge visible name this layer hat, this makes the dots added to your hat layer you should still have 3 (three) layer, from bottom to top, Layer 1, head, and then your hat. Once your merge visible your layers you can un x those layers so that you can view them again. Your Snowman should now look similar to this
Add yet another layer and name this layer hat
ball. Using your preset shapes tool again
Now just pull the brush outwards all around the hat ball. Until it starts looking like fuzz. This is what mine looks like
I bet your thinking are we ever going to get thru?? LOL Ok This is a long tutorial but I am hoping you like the results;)) We are going to add his face next so go to page 3. This Tutorial ©
Bunney's Burrow 2001
|