|
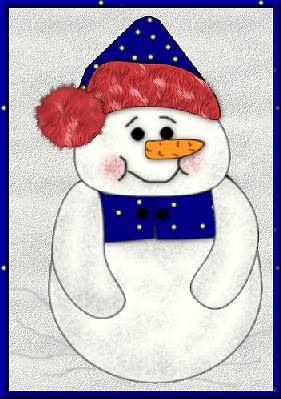
Bunney's Frosty The Snowman Tutorial
This tutorial was written in PSP 7, And can probably be revised for other versions of Psp, However the vectors may be different. I only used one outside filter Eye-candy 4000 Fur, however this is optional, I used it for the snowman's hat rim. This tutorial was written for those familiar with layers and Vector shapes.
Lets Begin
Open a new transparent 600 by 600 (16.7 million colors) image, This is rather large but I like to work with a larger image as we can always resize later;))
Go to layers, new raster layer, name this layer head. Your foreground (styles) color should be black and your background color should be a light cream color I am using #F7F8F0. I didn't want my snowman completely white:))
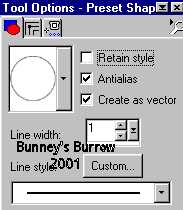
Now using your preset shapes tool
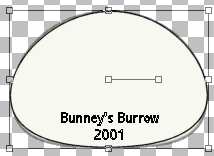
Draw an oblong circle for the snowman's
head. Going down to your object selector tool
Once you get your head shaped the way you want it right click again and go to quite node editing.
Now go to layers convert to raster
once you get your head the way you want it, Now using your magic wand
Now just spray a little of your gray near the
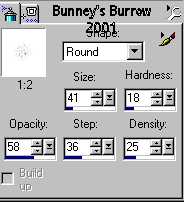
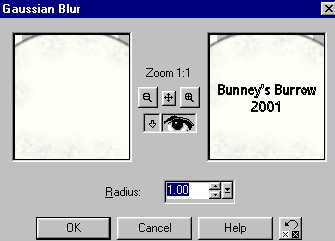
marching ants on the inside of your head. Then go to effects, Blur,
gaussian blur and use this setting
This is what your head should now look like
Of course yours will be larger and more detail as I have resized this one for download time:))
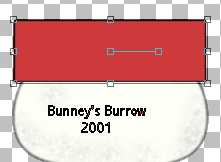
Go to layers, new raster layer and name this layer
hat rim. Change your foreground (styles) color back to black and change
your background color to a deep red or a color you want to use for your
hat rim, I am using #CE393B. Using your preset shapes tool
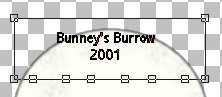
Using your object selector tool again
Now what we want to do is drag these nodes up to
almost the top part of the snowmans head to where it is curved around his
head like this
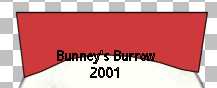
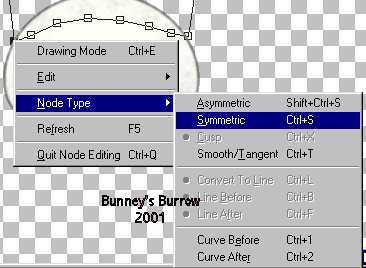
Looks funny doesn't it but we are going to fix that now. Ok You should still be editing your nodes, the two nodes on the very end you need to click on the nodes and then go to node type, symmetric like this
Make sure you do the two nodes on the bottom on the
end. You have a total of 8 nodes counting the 6 you added and the two that
where already there so its the two on the very end. Do both of these like
this. Do the exact same thing to the very top two nodes also and add the
symmetric lines to those as well. This just rounds the curves. You will
want to pull up the top left node just a little and bring the top left
node in a little , When you get done this is what you should have
You may just have to play around with it to get it
the way you want it, This is just the way I did mine:0) Now convert this
layer to a raster layer by going to layers convert to raster , Now I am
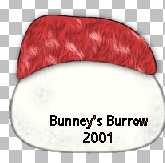
going to add the Eye-candy Fur 4000 filter to mine, This just give it a
fuzzy look this step is optional . If you chose to use this filter play
around with those settings to come up with something you like:)) This is
what mine looks like,
Now we are going to add the rest of his hat so go to page 2. This Tutorial ©
Bunney's Burrow 2001
|