|
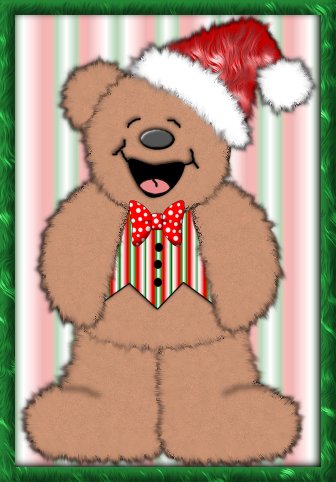
Bunney's Santa Bear Tutorial Page 3
Change your background color back to the same color we used for the teddy bear #BF896C.
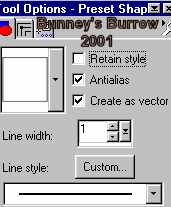
Using your preset shape tool
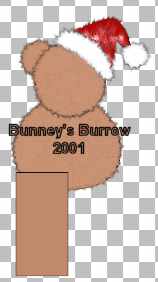
We are going to draw a rectangle for his
leg. Right up close to the bears body, draw a rectangle
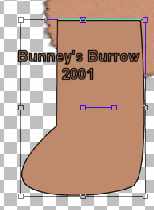
Using your object selector tool
Drag node 1 to the right like this
Right click on that node after you get it placed and go to node type and chose symmetric. Right click also on node 2 and go to node type and chose symmetric. Bring the little arrow up from node 2 toward the top, you want the bottom of his foot plush. This is what you should have.
Once you have your leg/foot the way you want it, right click and go to quit node editing. Then go to layers, convert to raster and name this layer leg. Open your layer palette and drag your leg layer all the way to the bottom below your body layer. Then go to edit copy, edit paste as a new selection, then image mirror and place on the opposite side of your bear. This is what you should have.
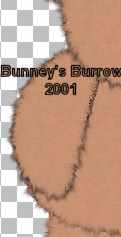
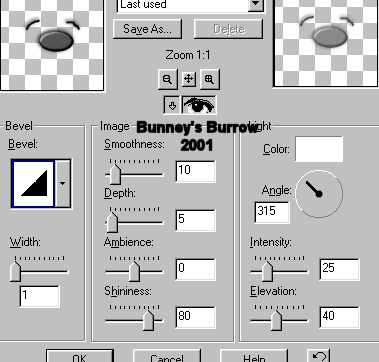
This image shows the fantastic machines, paint engine filter already applied. I have also used my retouch tool and pulled the sides up and outward as we have thru-out this entire tutorial.
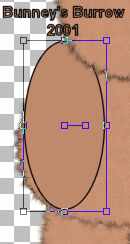
Highlight your body layer, then using your preset shapes tool once again, this time change your shape back to ellipse (circle) shape. make sure your create as vector IS still checked. Draw a oblong oval going down from the bears head like this
Using your object selector tool, right click on the inside of your arm and go to node edit. Pull your bottom node out and down. Shape your arm to something similar to this
When you have your arm set the way you want it right click again and go to quit node editing. Then layers, convert to raster. Name this layer arm. Go to edit copy, edit paste as new selection then image mirror and place on the opposite side of your bear. Here is what you should have at this point.
Now we are going to add a little
more detail. On your layer palette highlight your head layer and go to layers,
new raster layer and name this layer face. Change your background color to
black, both foreground (styles) and background colors both should be set at
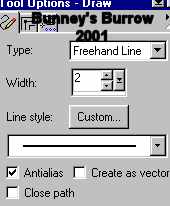
black. Using your draw tool
Draw a small curved line for his eyes. I added
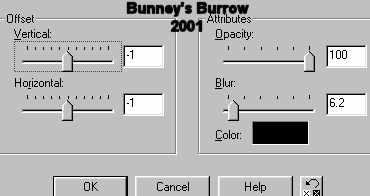
a drop shadow to mine using these settings (go to effects, 3D effects, drop
shadow)
Add a new raster layer and name
this layer nose. Going back to your preset shapes tool
I also used the same drop shadow to his nose as
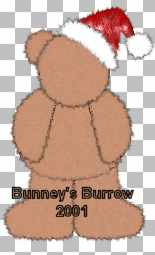
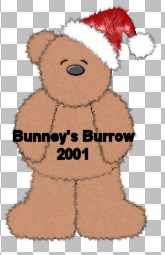
I did for the eyes. Your bear should now look similar to this
Highlight your leg layer and add a new
raster layer. No need to name this layer. Using your draw tool
Now to finish up go on to page 4. This Tutorial ©
Bunney's Burrow 2001
|