|
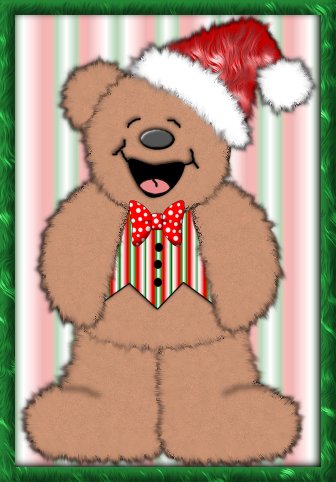
Bunney's Santa Bear Tutorial
This tutorial was created in PSP 7. It assumes you have basic knowledge of working with preset shapes, layers, and vectors. I also used a couple of outside filter, Fantastic Machines Paint Engine, which can be downloaded here. I also used Eye -candy 4000 Fur for his hat. This filter is optional.
Lets Begin
Open a new 500 by 600 (16.7 Million colors) transparent image. I like starting out large so that we have lots of room to work with. You can always resize the image after we finish;))
Set your foreground (styles) color black and your background color to #BF896C.
Using your preset shapes tool
Draw a circle for the bears head. Now going to
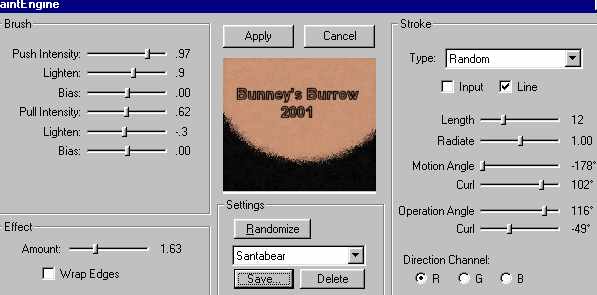
effects, plug-in
filters, Fantastic Machines, Paint engine, Use these settings
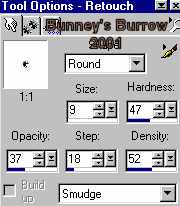
Click apply. Then using your retouch tool
With short even strokes we want to smudge the outside edges of the bears head pulling outward. We will be using these techniques thru out this tutorial with all parts of the bears body. This is what you should have now.
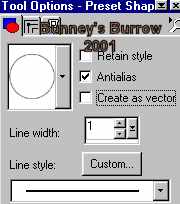
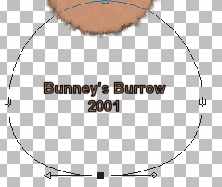
Using your preset shapes tool , the ellipse shape only this
time make sure create as vector IS checked!! Draw a rounded oval shape
for the bears body. Using your object selector tool
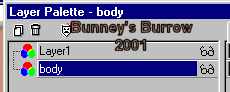
When you get your body the shape you want it right click again on the inside of the bears body and go to quit node editing. Then go to layers convert to raster. Open your layer palette and rename layer 2 body.
Open your layer palette and drag the body layer below layer 1.
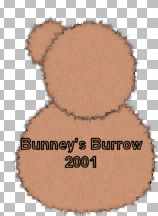
Add the same Fantastic Machines paint engine filter using the same settings
as before on the bears head. Click apply. Again using your retouch tool same
settings do the exact same way all around the bears body to get the fuzz
like we did on the head. This is what you should have now.
Go to layers, new raster layer and name this layer ear. Using
your preset shape tool
Remember yours will be larger and show more detail as this one has been resized for download time. Looks funny with only one ear huh? LOL. To add the santa's hat go to page 2. This Tutorial ©
Bunney's Burrow 2001
|