|
Create an Easter Tulip using PSP 7
This is an easy and quick tutorial for the beginner or the more advanced user of PSP. This can be modified to use PSP 6 but you will have to create your teardrop using your vectors.
Lets Begin
Open a new image 400 by 400 and add a new layer. Name this layer tulip front. We need to set our colors we are going to use for our Tulip. I am using #DEADBO for the foreground and my background colors.
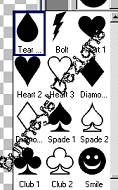
Now go to your shapes tool
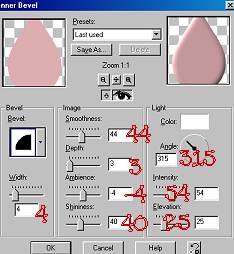
Now we are going to draw a tulip on our 400 by 400 image. We need to add an inner bevel to this layer to give it more depth. So go to effects 3D effects and use these settings
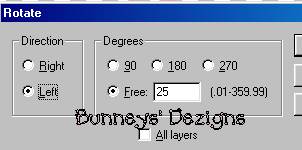
Now you need to go to edit copy and then edit paste as new layer we want to position our second petal right on top of your first petal. But on this one we are going to rotate it to the left. So we want to go to image rotate and use these settings
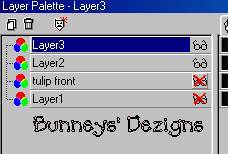
Now after you have your second petal we want to copy this layer so go to edit copy and paste as a new layer once again. This time we are going to just mirror your layer. We now want to merge just these two layers so go to your layer palette and make sure you put a red x over your tulip front layer and layer 1 like this
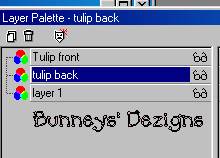
Rename this layer tulip back.
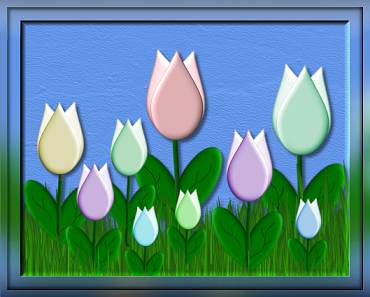
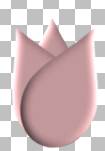
At this point you show now have something similar to this
This doesn't really look like a tulip at this point does it . What we need to do now is move your tulip front layer above your tulip back layer like this.
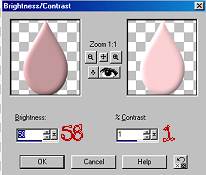
Before we merge our layers we want to adjust the brightness of the tulip back layer to do this go to colors adjust brightness/contrast and use these settings. Click ok.
For this next part put an x only on layer 1 and merge our tulip front and tulip back so go to layers merge visible and rename this layer Tulip. Now you should only have two layers at this point our layer 1 and Tulip layer.
Now we want to add our stem and leaf. This Tutorial ©
Bunney's
Burrow 2001
|