|

Bunney's All
American Heart Tutorial 
Add a new layer
and name this layer back. Then go to layers, arrange, send to
bottom. Your layers palette should look like this. 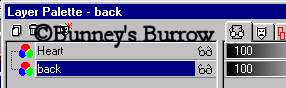
Change
your foreground (styles) color to the dark blue you used for
your blue layer on your flag. I am using #000080. Now flood fill
your image with the dark blue like this. 
These
next steps could get confusing, I hope I don't loose anyone.
Highlight your heart layer, Using your magic wand select the
area around your heart. Your entire image plus your heart needs to be selected,
now with the marching ants still around your heart, highlight
your back layer. We need to be on the back layer for these next
steps. Now
go to filters, plug-in filters, Dragonfly, Sinedots and use
these settings. 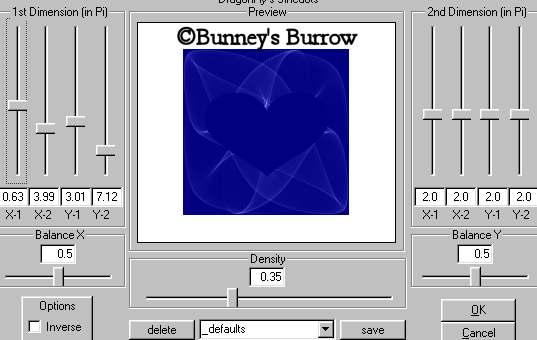
Now
while still on your back layer, go to layers add a new raster
layer and name this layer back 2. Now add the same dragonfly
sinedots filter used above. click ok. Selections, select none,
then to image flip. Now go to colors, colorize and use
these settings. 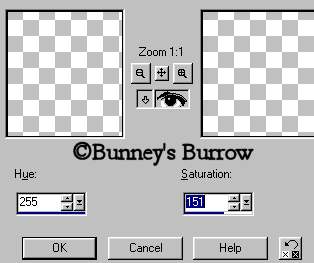
This
is what you should have now. 
Now
clicking back on your back layer (the blue background) go to
effects illumination effects, sunburst and use these settings. 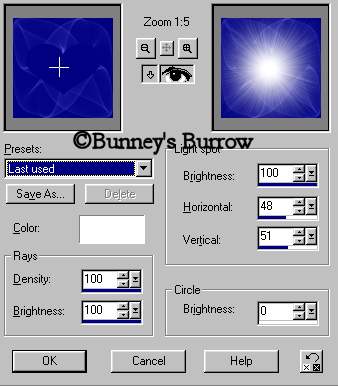
This
is what your image should look like at this point. 
Remember
your image will be larger and show more detail then the one
shown above. Make sure you are still on your back layer and
go to effects plug-in filters, VM Natural, stardust and use
these settings. 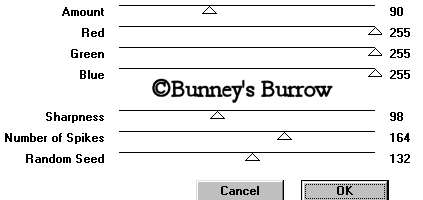
Your
filter preview will show the preview panel on the left side, I
cut this out for download time. Your image should now look like
this 
If
you will go on to page 4. We will finish up and add the frame. Page
4
Tutorial Written by Bunney Copyright
©Bunney's Burrow
2001.
|